 |
| Bag Center |
About a month ago, I designed a new center for a hairnet. I called it Little Star since it reminded me of an asterisk.
Last week I decided I wanted to net a bag for someone who recently had a baby. It dawned on me that I could use the same instructions for the bag as I had used for the hairnet by changing the mesh stick size and adding a handle. The center could stay the same.
 |
| Hairnet Center |
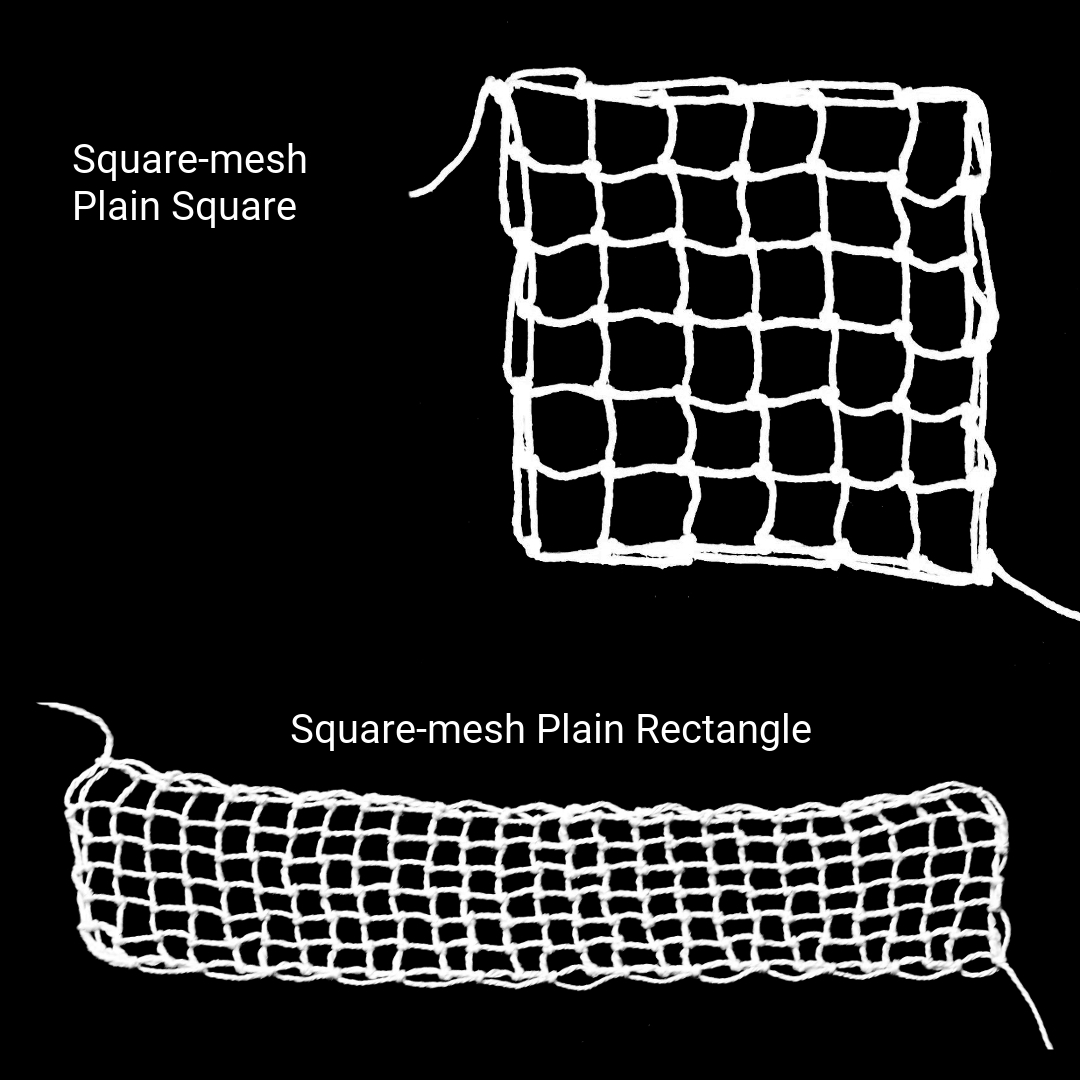
The center directions are the same except for the size of the mesh stick and the total rows. Here are the directions for the bag.
Round 1
mesh stick: 1”
Form grommet with 8 loops (last one tied by hand with CK). (8 loops in the round)
Round 2
mesh stick: 1”
Net 1 more knot in loop formed by CK, net 2 knots in all other loops. (16 loops in the round)
Round 3
mesh stick: 1”
Net 2 knots in the next loop, *net 1 knot in the following loop, net 2 knots in next loop*; repeat from * to *, tie the CK. (24 loops in the round)
Round 4
mesh stick: 1”
Net 1 knot in the next loop, *net 2 knots in next loop, net 1 knot in each loop for 2 loops*; repeat from * to *, ending with net 2 knots in the last loop, tie the CK. (32 loops in the the round)
Round 5
mesh stick: 1”
Net 1 knot in each loop for 2 loops, *net 2 knots in next loop, net 1 knot in each loop for 3 loops*; repeat from * to *, ending with net 2 knots in the last loop, tie the CK. (40 loops in the round)
Round 6
mesh stick: 1”
Net 1 knot in each loop for 2 loops, *net 2 knots in next loop, net 1 knot in each loop for 4 loops*; repeat from * to *, ending with net 2 knots in the last loop, tie the CK.(48 loops in the round)
Rounds 7-14
mesh stick: 1”
Net 1 knot in each loop. (48 loops in the round)
The handle is net as follows:
Handle 1:
Row 1
mesh stick: 1"
Net 1 knot in each loop for 24 loops. (24 loops in the row)
Row 2
mesh stick: 1"
Net 2 loops together; net 1 knot in each loop, except the last 2 loops; net the last two loops together. (22 loops in the row)
Row 3
mesh stick: 1"
Net 2 loops together; net 1 knot in each loop, except the last 2 loops; net the last two loops together. (20 loops in the row)
Row 4
mesh stick: 1"
Net 2 loops together; net 1 knot in each loop, except the last 2 loops; net the last two loops together. (18 loops in the row)
Row 5
mesh stick: 1"
Net 2 loops together; net 1 knot in each loop, except the last 2 loops; net the last two loops together. (16 loops in the row)
Row 6
mesh stick: 1"
Net 2 loops together; net 1 knot in each loop, except the last 2 loops; net the last two loops together. (14 loops in the row)
Row 7
mesh stick: 1"
Net 2 loops together across the entire row. (7 loops in the row)
Rows 8-25
mesh stick: 1/2"
Net 1 knot in each loop. (7 loops in each row)
Cut the thread to the shuttle.
Tie the thread from the shuttle to the loose end formerly used to tie the CK.
Handle 2:
Rows 1 - 25
Repeat the instructions for handle 1
Tie handle one and handle two together with a square knot or bow to form a single handle with a large knot at the top.

To learn how to net, visit Rita's Netting Nook.


